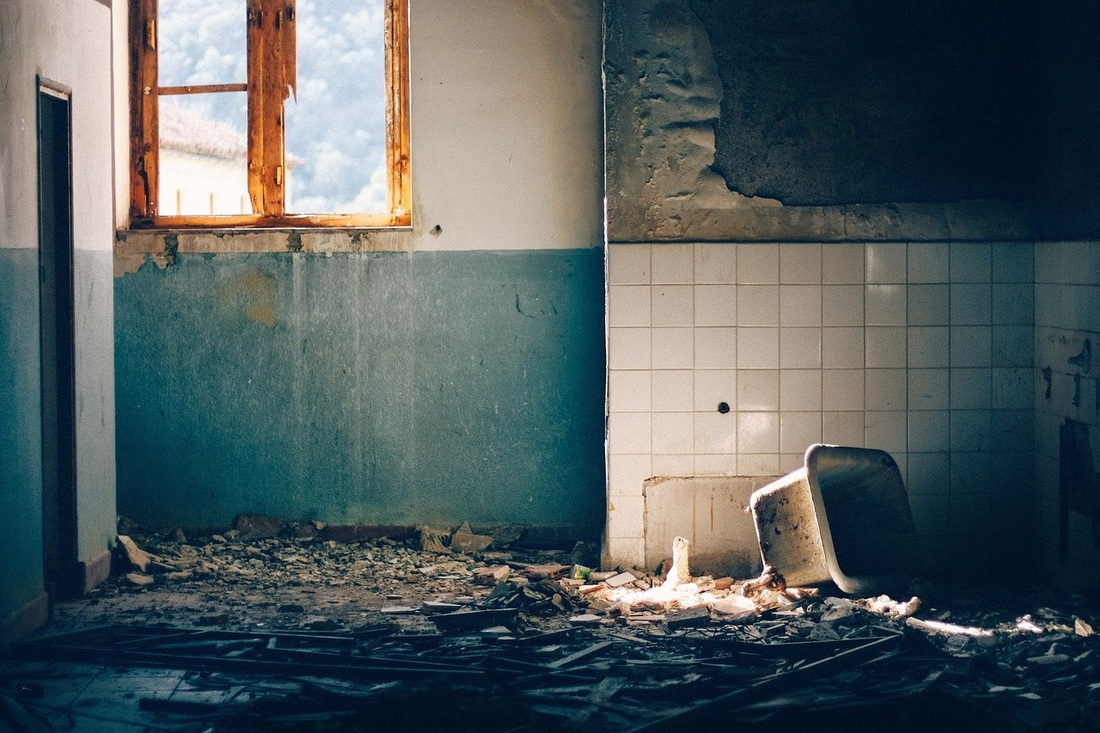


Many first time homebuyers today want a fixer-upper for their first home—something fairly inexpensive that they can make their own. A lot of people opt for a home that is ugly to be sure, but it functions as any home should, and doesn’t have a ton of structural work that needs to be done. Others, however, opt for a home that is ugly, rundown and that makes their relatives go, “What were they thinking?” In either instance, there are just some rooms that need to be functional and clean if they’re going to be used – despite the condition of the rest of the house – and one of those rooms is the bathroom.
If you’ve recently moved into a fixer-upper – or even if you’ve used a dirty bathroom in someone else’s home before – you know what I’m talking about. Dirty public restrooms are bad enough, but a home-bathroom is a place in which you are supposed to get clean and sanitary. It should not be another place in which you fear that if you touch anything, you’ll contract some sort of terrible illness. In short, your bathroom should not give you or any of your guests the heebie-jeebies.
That being said, even if you’re in for a long-haul renovation, the bathroom should be one of the very first rooms on your house to get remodeled.
But what if you’re on a budget, and it’s tight now that you just bought the home?
Well, luckily for you, we’ve got a way you can renovate your entire bathroom for less than $500. And while it may not be what you want for forever, it’ll at least get you through until your other rooms are completed, and you’ve re-saved enough to do it properly.
Step 1: CLEAN!
This should be a no brainer, but I feel like I should include because, well, you just never know…
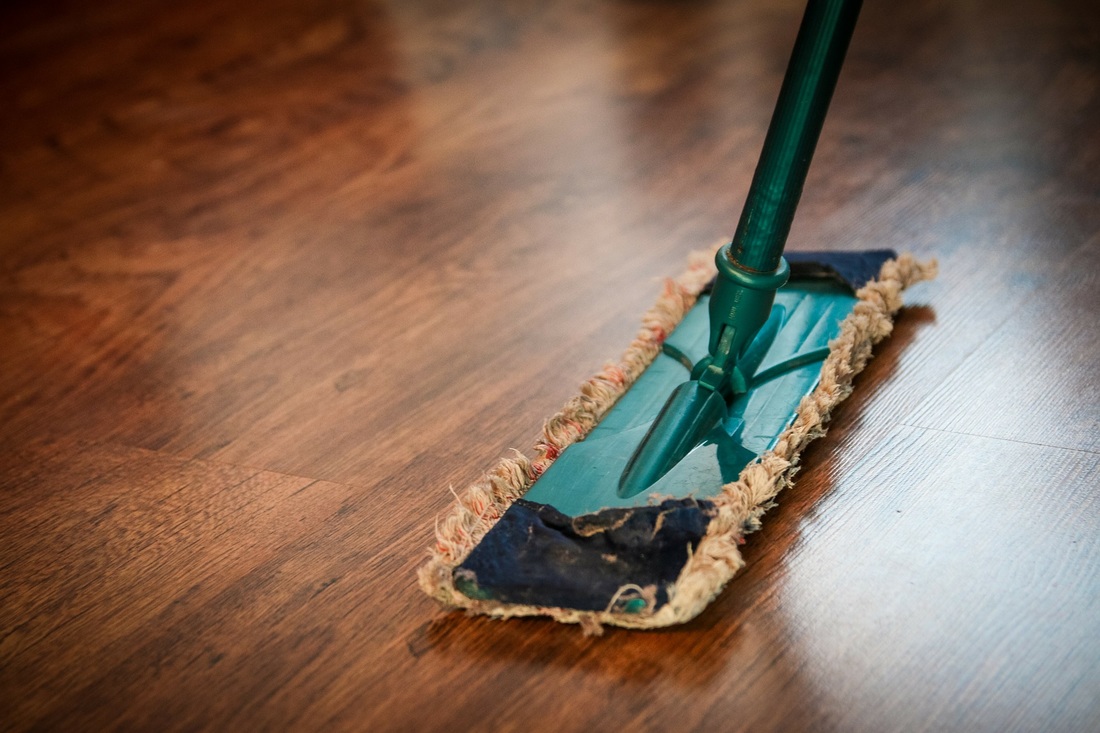
The first step to achieving a new, clean bathroom is to actually clean it. Bust out the bleach and the mildew remover and the tile cleaner and whatever else you feel is necessary, and get to scrubbing! While it may seem counter-intuitive to clean a bathroom that you’re just going to rib to pieces anyways, it’s actually a good way to take inventory of what really needs to be replaced, what can be painted/redone and what is worth keeping.
Cost: Nothing but an hour or so of your time.
Step 2: Demo
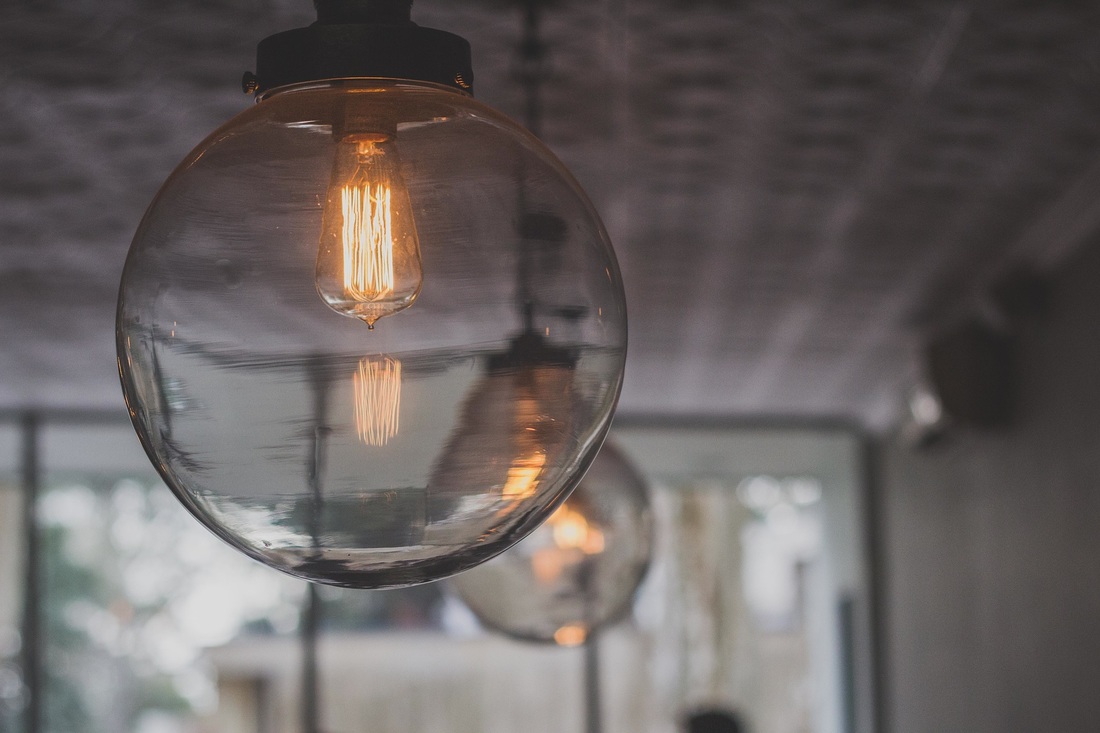
Now that everything is clean and you’ve decided what’s worth keeping and what’s not, demo the stuff you want gone! Is there wall paper that is mildewed and out-of-date? Rip it down? Is the vanity falling apart? Rip it out. Do the light fixtures need to be replaced? Take them down. Whether it be the toilet or the bathtub liner, whatever needs to be removed and replaced, take it out!
Cost: Nothing but a few hours of your time.
Note: If there are any fixtures that you like the shape or style of, but they’re rusted out and dirty? If so, keep them! We’ll share with you ways to spruce them up for less than $10 a few items down.
Step 3: Repair
Now that you have officially made a mess of your bathroom, start repairing it. Clean up all the dust and trash, then start making repairs to the drywall, flooring, bathtub, whatever.
Cost: At Liberty Paint & Construction, we can do drywall repairs for you for as little as $50. We’ll make the repair, texture it to match the existing texture in your bathroom, sand it and even paint if you’d like! But we’ll get to that in a few…
Step 4: Re-Install
Did you take out your toilet? What about your vanity? No matter if you removed large items or just a few small ones, it’s time to put the basics of your bathroom back together again.
Cost: eFaucets has toilets for as little as $56.09, but you could probably find one cheaper at the Habitat for Humanity Re-Store. Remember, this is a temporary fix, and you can always replace the cheap toilet with a high-tech one that does weird things I don’t want to talk about later on down the road.
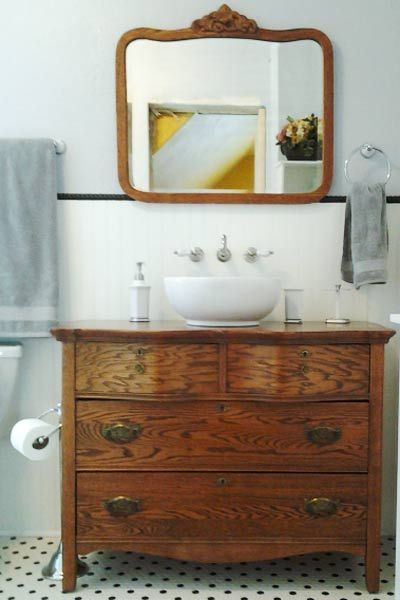
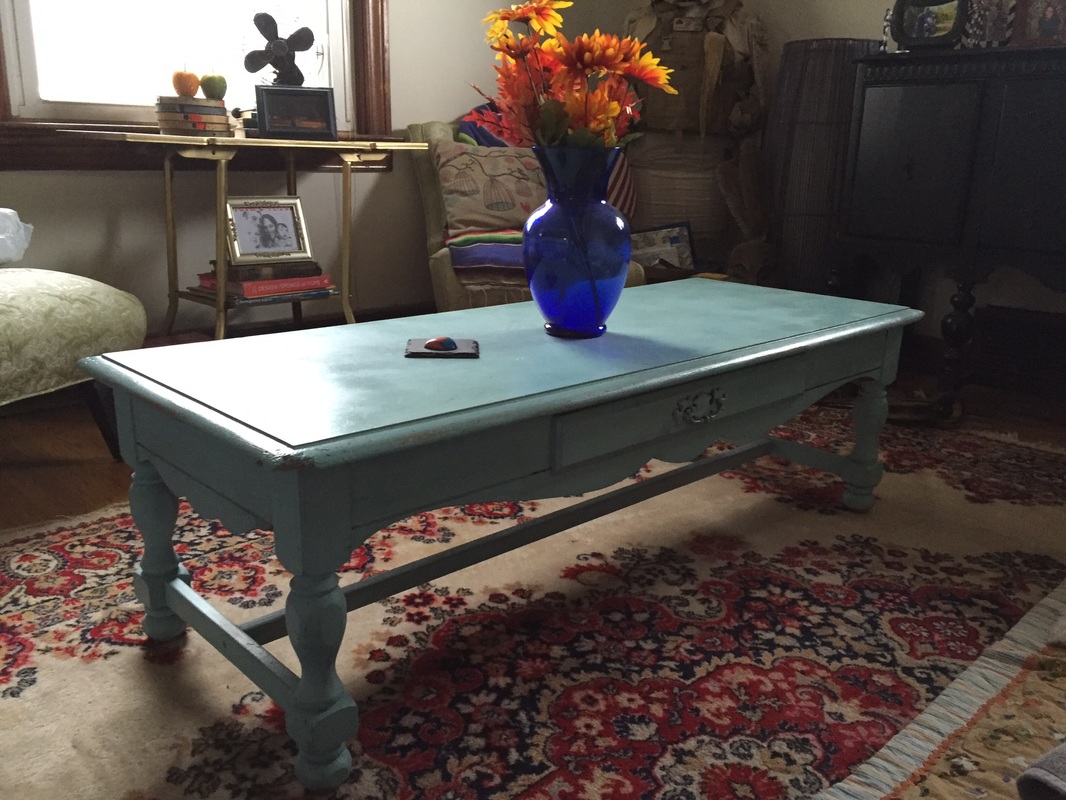
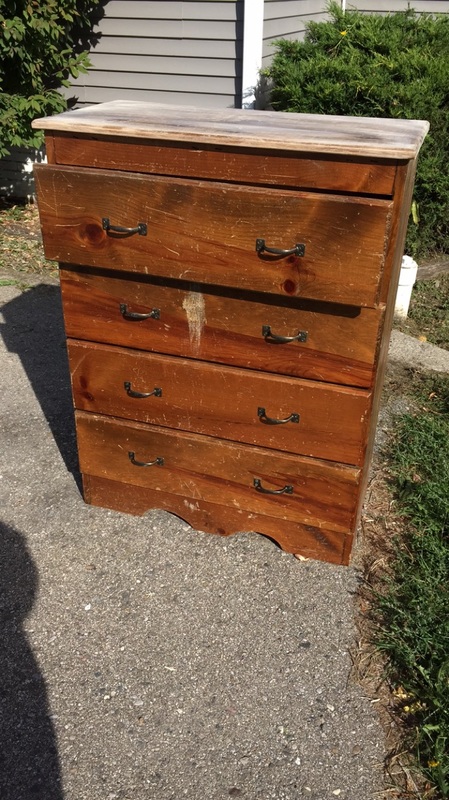
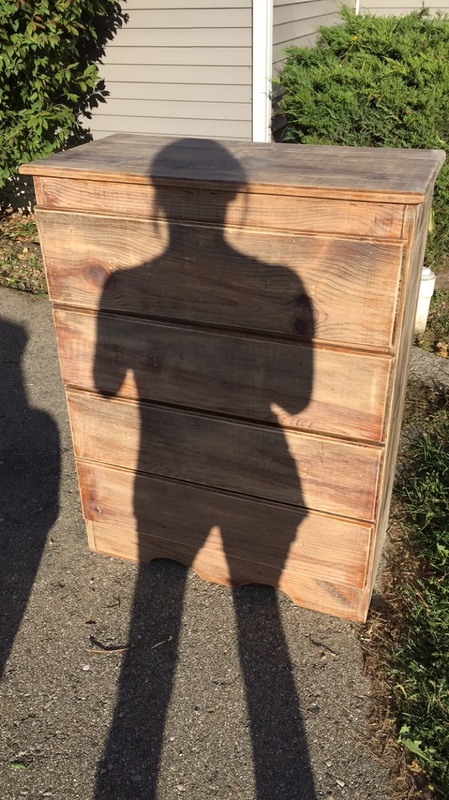
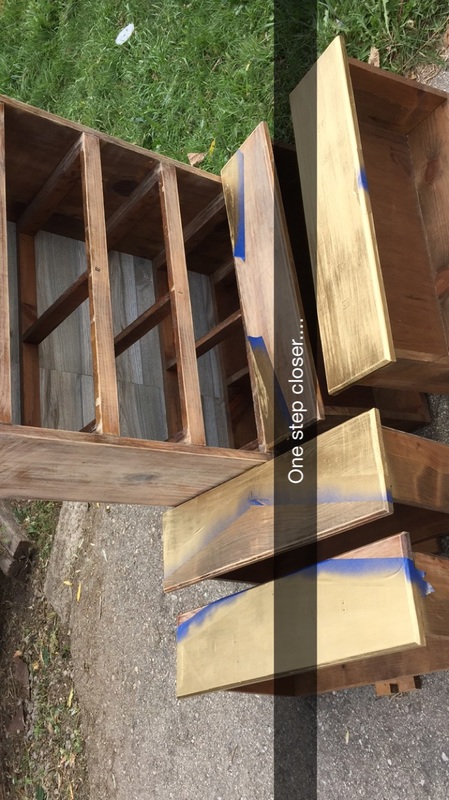
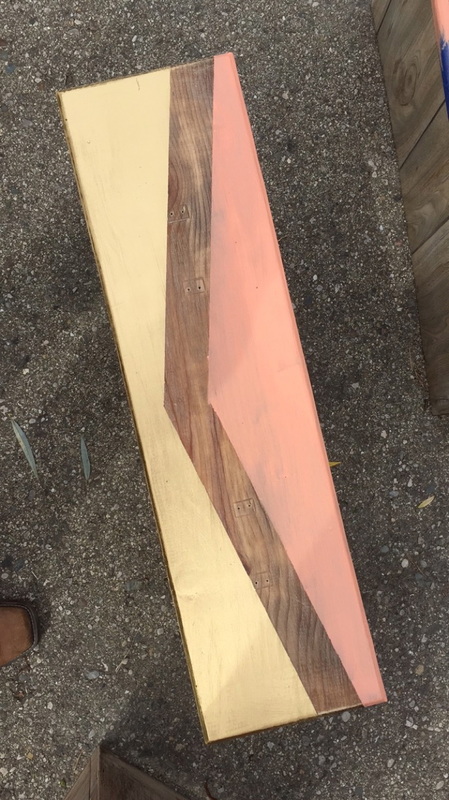
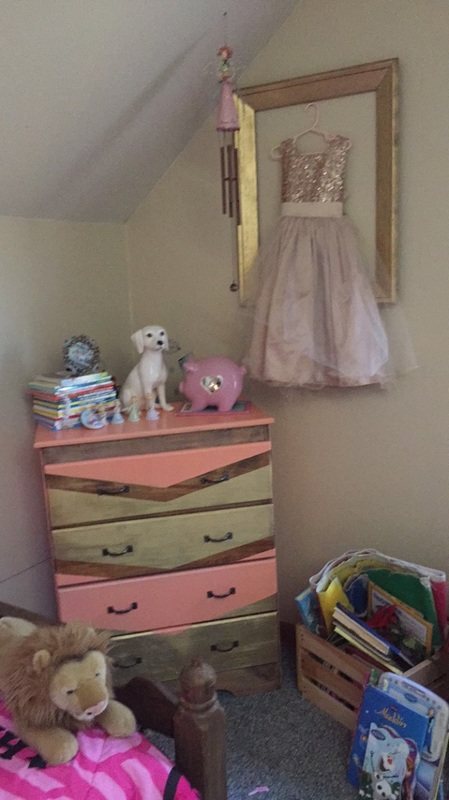
Wayfair.com has bathroom vanities for as low as $250, and homedecorators.com has them for as low as $120! You can find sink bowls for as low as $30. Now, you can get really creative and buy a cheap dresser (like, $20 cheap!), paint it and cut it so that it becomes a bathroom vanity. This is what we did, and I love how it turned out! However, this route isn’t for everyone, as it requires a little more legwork than some people are willing to put in for a vanity they may or may not keep.
If you ripped out your bathtub liner, you can find a cheap one for around $40, but where the bathtub is concerned, I’d suggest going with one that’s a little more sturdy, and that’s going to get you further. For a nicer one, you’re looking at approximately $120.
In total, if you replaced your toilet, vanity and bathtub, you’re looking at anywhere from $150-$400.
Step 5: Paint
Now that all of your big items are in place, it’s time to tape them off and get to painting. Light, soft colors are the best for a small bathroom, as it makes the space seem larger and cleaner.
Cost: You can paint the room yourself for the cost of materials, which should include a few gallons of paint and primer, brushes, paint pans and rollers. Or, we can paint your bathroom for you for as little as $200. Not only will this save you time, but depending on what materials you’ll need, it could even save you money. We can also make sure that your paint job is mold and mildew resistant, and capable of withstanding excess amounts of moisture.
Step 6: Install New Fixtures
Remember how I told you to put aside your old fixtures for now? Well, it’s time to bust them back out. If color is all that is wrong with them, pick out a spray paint that you like and paint those bad boys! We painted all of our old fixtures black with a single can of spray paint, and it’s really changed the look and feel of our bathroom.
IF you don’t like your old fixtures AT ALL, you can find new ones for next to nothing at the Habitat for Humanity Re-Store, Goodwill, flea markets, antique malls, etc.
Cost: $5-$100 (if you choose to go with a brand new, fancy fixture)
Step 7: Floors
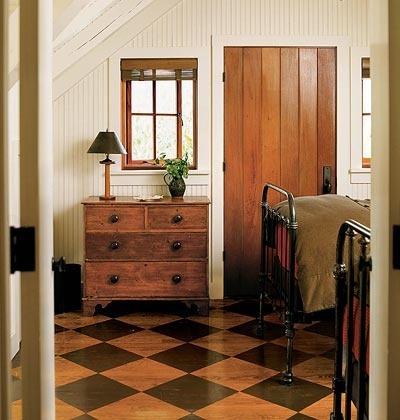
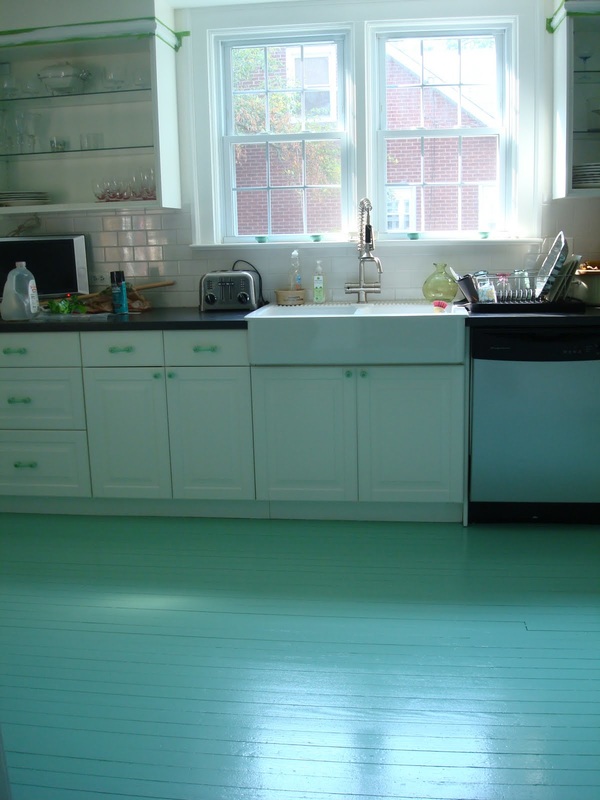
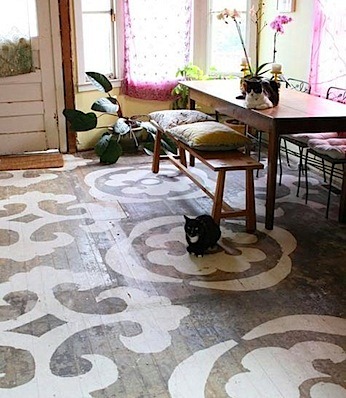
If you completely ripped out your flooring, you have a couple different options: 1) retile with peel and stick tiles (again, remember, this is temporary), or 2) paint your floors!
Painting is more fun, as it allows you the freedom to do whatever you want with your floors. It’s fairly easy too. Simply sand and patch the plywood subfloor, if necessary, then use porch paint and stencils to create the design you want. Once the design is complete and dry, apply at least three coats of polyurethane to ensure that it holds in a room with so much moisture and humidity.
Cost: Whether you choose to paint your floors or do the peel and stick option, you’re looking at less than $100 for brand new floors!
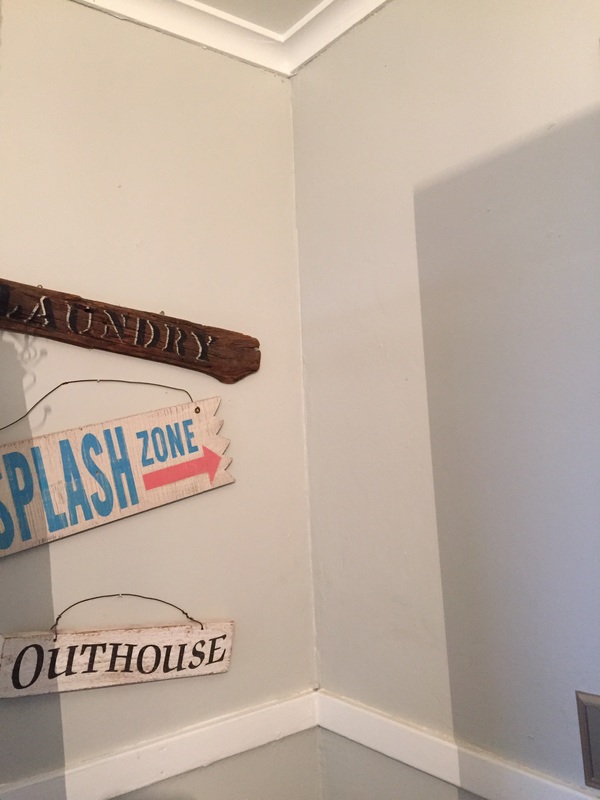
Step 8: Decorate!
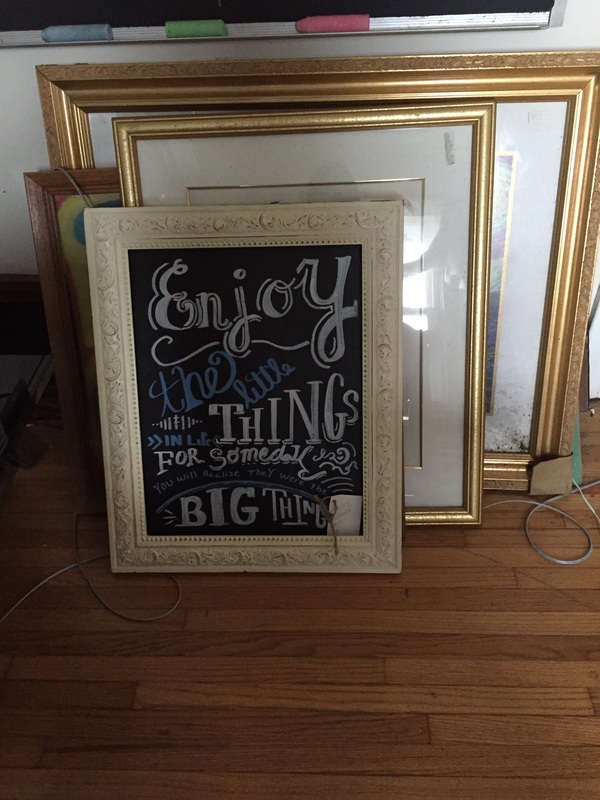
Now that you have the barebones of your bathroom put together, it’s time to decorate. I’m not going to tell you how to do this part, because how you decorate should reflect your own personal style.
Cost: If you pick up items from flea markets, second-hand stores or antique shops, you can decorate for as little as $100.
Even if you opt to splurge on every step of your bathroom makeover, if you stick with these guidelines, you can do the whole thing for $900. But if you shop wisely, reuse as much of the existing materials as possible and do all of the work yourself, you could easily redo your bathroom for less than $500.
So, what are you waiting for? Get to work!
If you’ve recently moved into a fixer-upper – or even if you’ve used a dirty bathroom in someone else’s home before – you know what I’m talking about. Dirty public restrooms are bad enough, but a home-bathroom is a place in which you are supposed to get clean and sanitary. It should not be another place in which you fear that if you touch anything, you’ll contract some sort of terrible illness. In short, your bathroom should not give you or any of your guests the heebie-jeebies.
That being said, even if you’re in for a long-haul renovation, the bathroom should be one of the very first rooms on your house to get remodeled.
But what if you’re on a budget, and it’s tight now that you just bought the home?
Well, luckily for you, we’ve got a way you can renovate your entire bathroom for less than $500. And while it may not be what you want for forever, it’ll at least get you through until your other rooms are completed, and you’ve re-saved enough to do it properly.
Step 1: CLEAN!
This should be a no brainer, but I feel like I should include because, well, you just never know…
The first step to achieving a new, clean bathroom is to actually clean it. Bust out the bleach and the mildew remover and the tile cleaner and whatever else you feel is necessary, and get to scrubbing! While it may seem counter-intuitive to clean a bathroom that you’re just going to rib to pieces anyways, it’s actually a good way to take inventory of what really needs to be replaced, what can be painted/redone and what is worth keeping.
Cost: Nothing but an hour or so of your time.
Step 2: Demo
Now that everything is clean and you’ve decided what’s worth keeping and what’s not, demo the stuff you want gone! Is there wall paper that is mildewed and out-of-date? Rip it down? Is the vanity falling apart? Rip it out. Do the light fixtures need to be replaced? Take them down. Whether it be the toilet or the bathtub liner, whatever needs to be removed and replaced, take it out!
Cost: Nothing but a few hours of your time.
Note: If there are any fixtures that you like the shape or style of, but they’re rusted out and dirty? If so, keep them! We’ll share with you ways to spruce them up for less than $10 a few items down.
Step 3: Repair
Now that you have officially made a mess of your bathroom, start repairing it. Clean up all the dust and trash, then start making repairs to the drywall, flooring, bathtub, whatever.
Cost: At Liberty Paint & Construction, we can do drywall repairs for you for as little as $50. We’ll make the repair, texture it to match the existing texture in your bathroom, sand it and even paint if you’d like! But we’ll get to that in a few…
Step 4: Re-Install
Did you take out your toilet? What about your vanity? No matter if you removed large items or just a few small ones, it’s time to put the basics of your bathroom back together again.
Cost: eFaucets has toilets for as little as $56.09, but you could probably find one cheaper at the Habitat for Humanity Re-Store. Remember, this is a temporary fix, and you can always replace the cheap toilet with a high-tech one that does weird things I don’t want to talk about later on down the road.
Wayfair.com has bathroom vanities for as low as $250, and homedecorators.com has them for as low as $120! You can find sink bowls for as low as $30. Now, you can get really creative and buy a cheap dresser (like, $20 cheap!), paint it and cut it so that it becomes a bathroom vanity. This is what we did, and I love how it turned out! However, this route isn’t for everyone, as it requires a little more legwork than some people are willing to put in for a vanity they may or may not keep.
If you ripped out your bathtub liner, you can find a cheap one for around $40, but where the bathtub is concerned, I’d suggest going with one that’s a little more sturdy, and that’s going to get you further. For a nicer one, you’re looking at approximately $120.
In total, if you replaced your toilet, vanity and bathtub, you’re looking at anywhere from $150-$400.
Step 5: Paint
Now that all of your big items are in place, it’s time to tape them off and get to painting. Light, soft colors are the best for a small bathroom, as it makes the space seem larger and cleaner.
Cost: You can paint the room yourself for the cost of materials, which should include a few gallons of paint and primer, brushes, paint pans and rollers. Or, we can paint your bathroom for you for as little as $200. Not only will this save you time, but depending on what materials you’ll need, it could even save you money. We can also make sure that your paint job is mold and mildew resistant, and capable of withstanding excess amounts of moisture.
Step 6: Install New Fixtures
Remember how I told you to put aside your old fixtures for now? Well, it’s time to bust them back out. If color is all that is wrong with them, pick out a spray paint that you like and paint those bad boys! We painted all of our old fixtures black with a single can of spray paint, and it’s really changed the look and feel of our bathroom.
IF you don’t like your old fixtures AT ALL, you can find new ones for next to nothing at the Habitat for Humanity Re-Store, Goodwill, flea markets, antique malls, etc.
Cost: $5-$100 (if you choose to go with a brand new, fancy fixture)
Step 7: Floors
If you completely ripped out your flooring, you have a couple different options: 1) retile with peel and stick tiles (again, remember, this is temporary), or 2) paint your floors!
Painting is more fun, as it allows you the freedom to do whatever you want with your floors. It’s fairly easy too. Simply sand and patch the plywood subfloor, if necessary, then use porch paint and stencils to create the design you want. Once the design is complete and dry, apply at least three coats of polyurethane to ensure that it holds in a room with so much moisture and humidity.
Cost: Whether you choose to paint your floors or do the peel and stick option, you’re looking at less than $100 for brand new floors!
Step 8: Decorate!
Now that you have the barebones of your bathroom put together, it’s time to decorate. I’m not going to tell you how to do this part, because how you decorate should reflect your own personal style.
Cost: If you pick up items from flea markets, second-hand stores or antique shops, you can decorate for as little as $100.
Even if you opt to splurge on every step of your bathroom makeover, if you stick with these guidelines, you can do the whole thing for $900. But if you shop wisely, reuse as much of the existing materials as possible and do all of the work yourself, you could easily redo your bathroom for less than $500.
So, what are you waiting for? Get to work!


 RSS Feed
